How to set up an Airbnb listing effectively is crucial for attracting guests and maximizing your property’s potential. Whether you’re a seasoned host or just starting out, understanding the process of how to list on Airbnb and how to set up an Airbnb can make all the difference in your hosting journey. This guide will walk you through each step, from creating your listing to finalizing your booking settings, ensuring you’re well-equipped to succeed in the competitive Airbnb market.
Step One: Getting Started & Creating Your Airbnb Listing
To begin, navigate to the ‘Become a host’ option on the Airbnb website. This is where you’ll start building your listing from scratch. First, select the appropriate home type, such as an apartment, house, or villa, and provide specific details about your property. Next, identify the listing type, whether you’re offering an entire place, a private room, or a shared room. This distinction is important as it sets expectations for potential guests.
After selecting your property type, input the property’s address and confirm its location on the map. This step ensures that your listing appears in the correct location for guests searching in your area. Specify the maximum number of guests your space can accommodate, along with details about the number of beds, bedrooms, and bathrooms. These details are essential for guests planning their stay.
Finally, choose the available amenities and safety items your property offers. Amenities can range from basic necessities like Wi-Fi and laundry facilities to more luxurious options like a pool or gym. Highlighting these features can significantly enhance your listing’s appeal.
Using Technology to Enhance the Guest Experience
Smart home devices can significantly improve guest satisfaction and streamline hosting tasks:
- Smart Locks: Offer keyless entry for convenient check-ins.
- Smart Thermostats: Allow guests to control the temperature for optimal comfort.
- Voice Assistants: Provide local information and control over smart devices with voice commands.
- Smart Lighting: Enhance ambiance and safety with adjustable lighting options.
Step Two: How to Take Great Airbnb Photos
High-quality photos are the backbone of any successful Airbnb listing. They provide potential guests with a realistic view of your space and can make or break their decision to book. Here are some tips for capturing compelling photos:
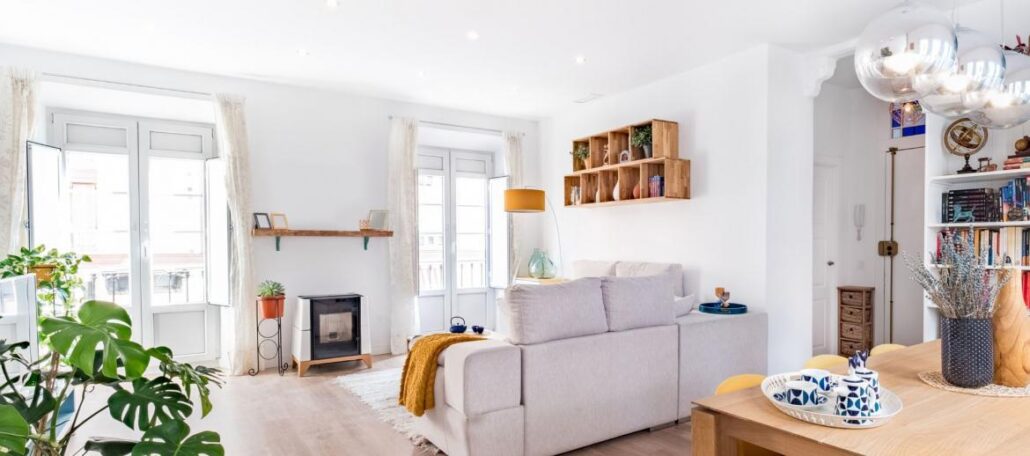
Prepare Your Space: Ensure your property is clean and decluttered before taking photos. Highlight unique features and amenities that set your space apart.
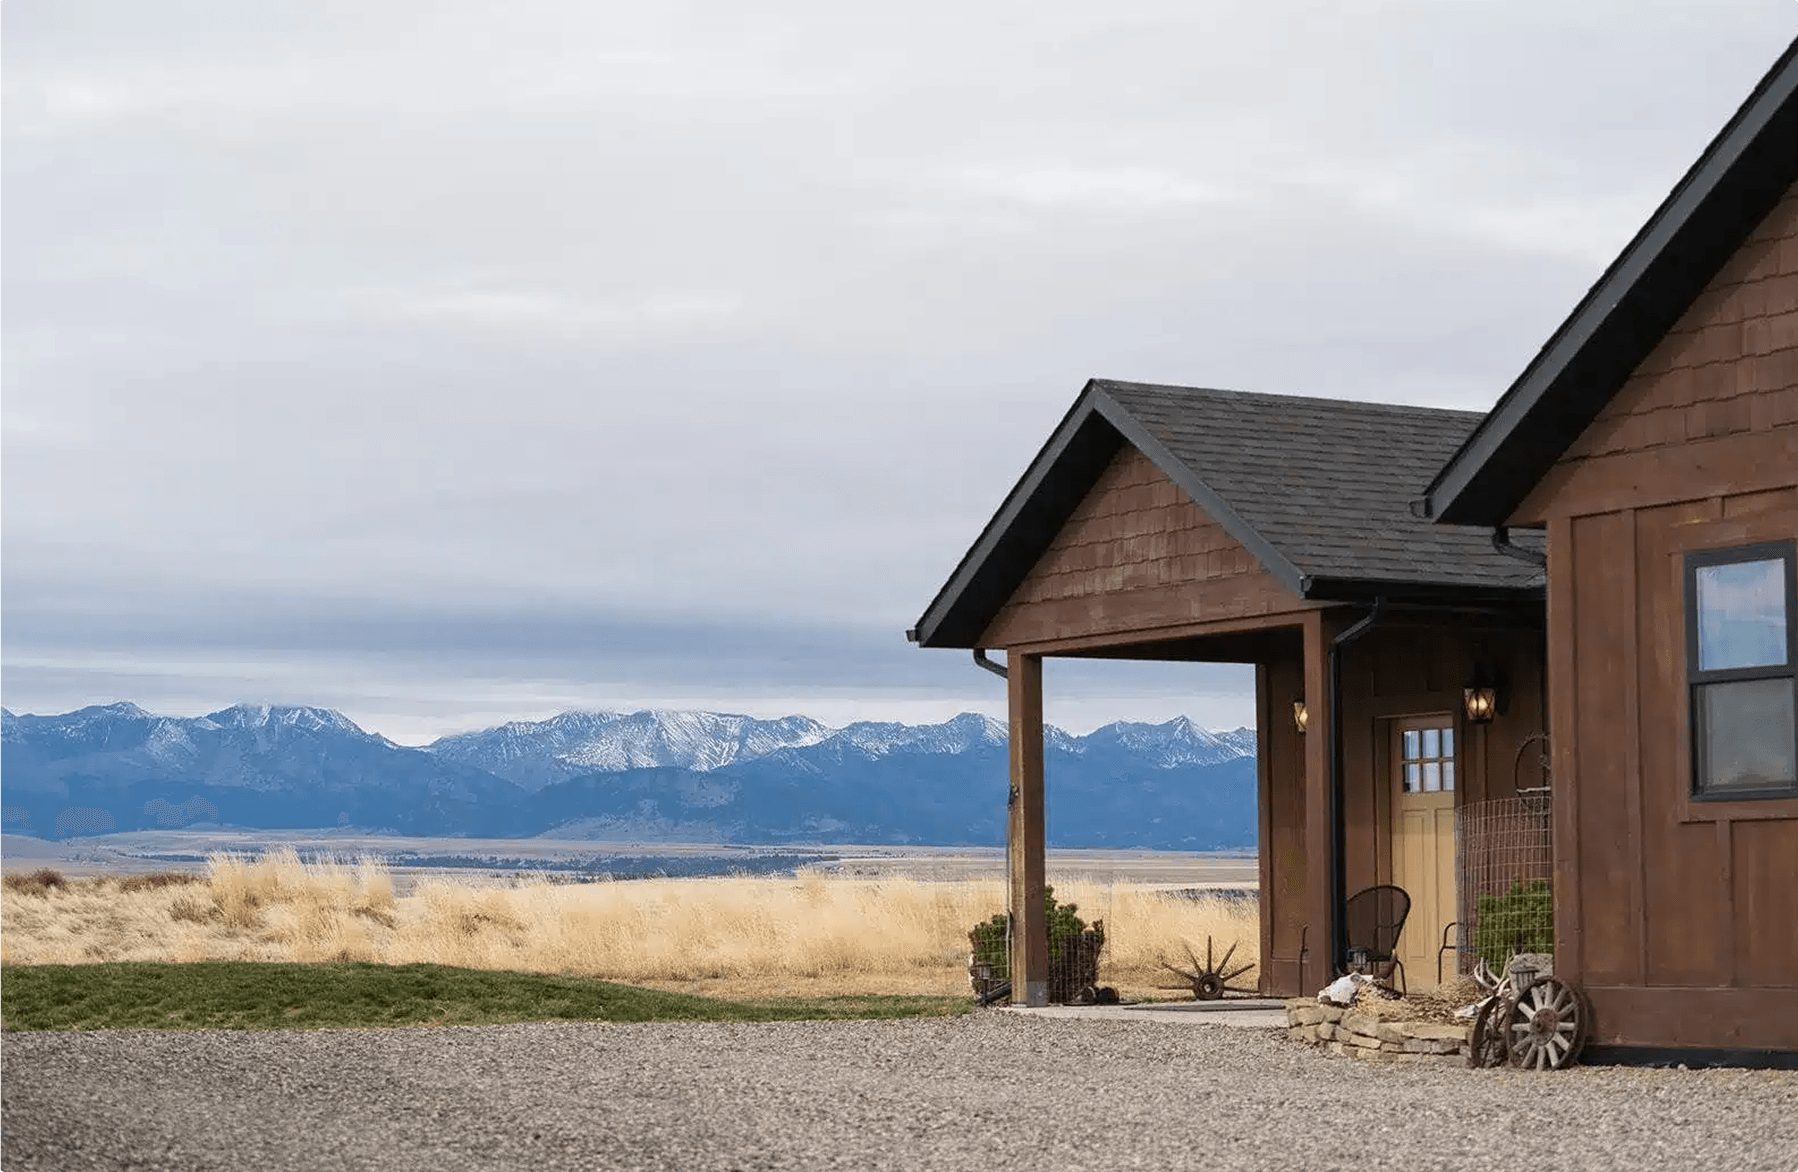
Use Natural Light: Take indoor photos during the day when natural light is abundant. For outdoor shots, consider the “golden hours” just after sunrise or before sunset for the best lighting.
Shoot from a Neutral Position: Avoid tilting the camera up or down to provide a realistic view of each room.
Edit Your Photos: Adjust brightness, contrast, and highlights to enhance the visual appeal of your images. Upload photos in high resolution to ensure they look their best on the platform.
Step Three: How to Write an Effective Airbnb Description
Your listing description is your chance to tell the story of your property and what makes it special. Here’s how to craft an engaging and informative description:
Keep It Concise: Aim for a summary that highlights the unique features of your property within the 500-character limit. Guests often scan descriptions quickly, so lead with what’s most important.
Use Descriptive Language: Paint a vivid picture with words that evoke a sense of place and atmosphere. Use specific adjectives like “cozy,” “spacious,” or “luxurious” to help guests imagine themselves in your space.
Highlight Key Amenities: Mention any standout features or services that enhance the guest experience, such as a fully equipped kitchen, high-speed Wi-Fi, or a private hot tub.
Personal Touch: Add a personal note to connect with potential guests and build trust. This could include local recommendations or a warm welcome message.
Example of a Great Airbnb Description
Here’s an example of how you might describe a charming beachside cottage:
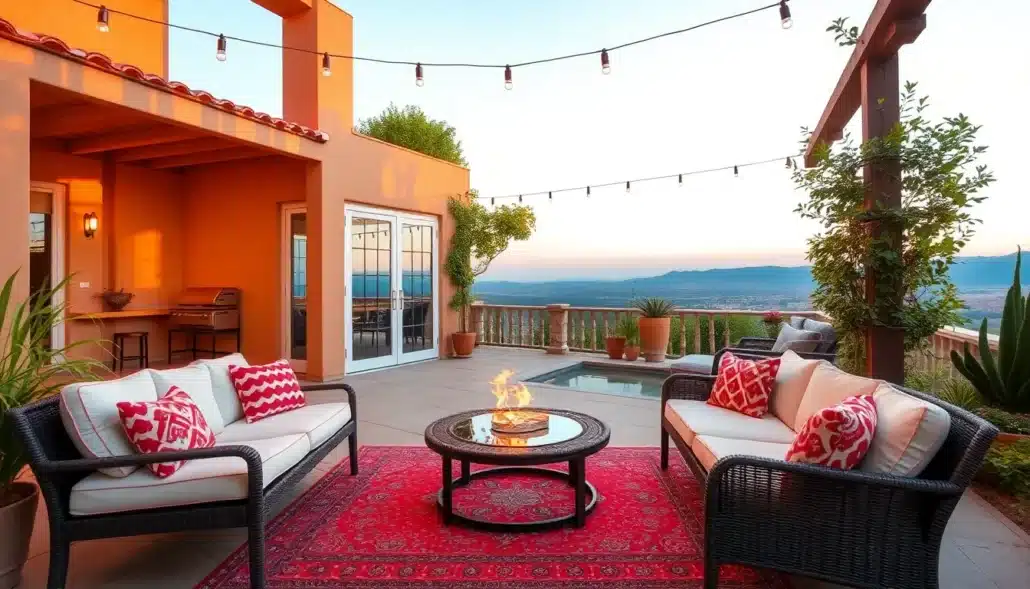
“Escape to Serenity: Beachside Cottage Getaway
Enjoy the tranquility of our cozy beachside cottage, nestled just steps from the ocean. This one-bedroom retreat features a private patio with stunning sea views, a fully equipped kitchen, and a wood-burning fireplace for chilly evenings. Perfect for couples or solo travelers seeking relaxation, our cottage is a short walk from local cafes and shops. Complimentary welcome basket and personalized local tips included to enhance your stay.”
This description is concise, highlights unique features like the private patio and sea views, and adds a personal touch with the welcome basket and local tips.
Tips for Crafting Your Description
- Start Strong: Begin with a compelling sentence that captures the essence of your property.
- Be Visual: Use descriptive language to help guests visualize themselves in your space.
- Highlight What Sets You Apart: Emphasize unique features or experiences that differentiate your property from others.
- Consider Your Target Audience: Tailor your tone and content to appeal to your ideal guests.
- End on a High Note: Close with an inviting message that encourages bookings.
Step Four: Pricing Your Airbnb Rental
Boost your short term rentals today
Pricing is a critical aspect of your listing. Here are some tips to consider:
- Set a Competitive Nightly Price: Use Airbnb’s suggested price range and research competitor listings in your area to determine a fair rate.
- Consider Discounts: Offering a discount for the first few bookings can help attract initial guests and build momentum.
- Use Smart Pricing Tools: These tools allow you to dynamically adjust your prices based on demand, ensuring you maximize your earnings during peak periods.
Step Five: Finishing Off Your Airbnb Listing
Once you’ve completed the initial setup, review your listing carefully to ensure all details are accurate and appealing. Here are the final steps:
Confirm Details: Double-check your property’s description, photos, and amenities.
Publish Your Listing: Once satisfied, click “Publish” to make your listing live and available to potential guests.
Optimizing Your Listing for Seasonal Demand
Adjusting your pricing and amenities seasonally can help maximize bookings:
Seasonal Pricing: Raise rates during peak seasons like summer or holidays, and offer discounts during off-peak periods.
Tiered Pricing: Implement different rates based on guest count or stay length to attract diverse groups.
Special Offers: Create packages or discounts for extended stays or midweek bookings to fill gaps in your calendar.
Step Six: Airbnb Booking Settings
After publishing your listing, it’s time to set up your booking settings:
Guest Requirements: Decide if you require guests to provide ID or recommendations.
House Rules: Clearly outline any important rules, such as pet policies or parking restrictions.
Calendar Management: Set how often you want to host guests and specify any advance notice requirements. You can also block or unblock specific dates on your calendar.
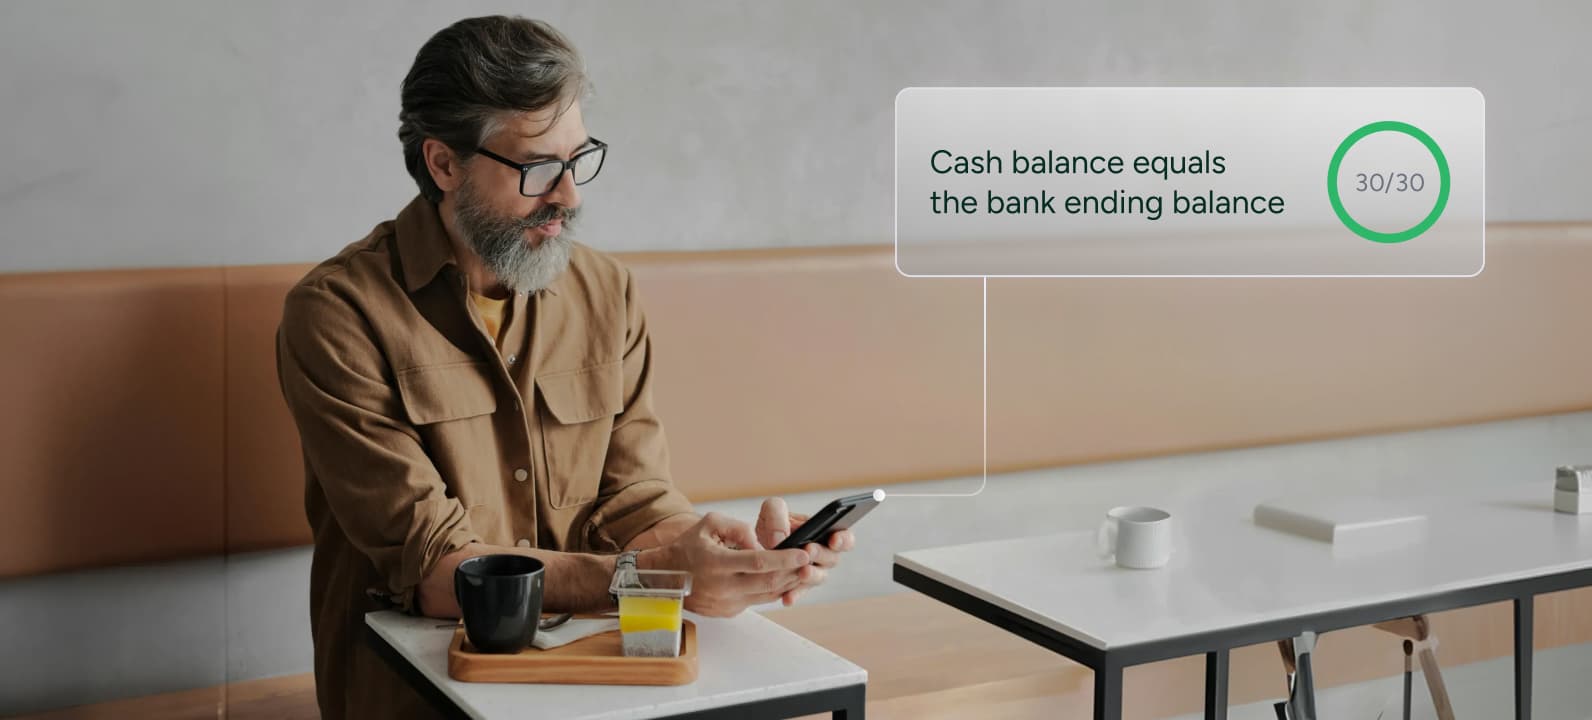
Step Seven: How Much Does Airbnb Take from Hosts
Understanding Airbnb’s fees is essential for managing your finances effectively. Airbnb charges a host service fee, which typically ranges from 3% to 5% of the booking subtotal. This fee supports the platform’s services and tools. Additionally, guests pay a guest service fee, which varies but is usually around 14.2% of the booking subtotal. These fees are deducted from the booking total, so it’s important to factor them into your pricing strategy.
Navigating Legal and Tax Obligations
Understanding the legal and tax implications of hosting on Airbnb is crucial:
Tax Obligations: In the U.S., Airbnb may issue a 1099 form if you earn over $600 annually. Consider consulting a tax professional to ensure compliance and maximize deductions.
Legal Compliance: Familiarize yourself with local regulations regarding short-term rentals, including any necessary permits or licenses.
Step Eight: Airbnb Host Requirements
Before becoming an Airbnb host, ensure you meet the necessary legal and eligibility requirements:
- Legal Compliance: Check local laws and regulations regarding short-term rentals in your area. Some cities require special permits or licenses.
- Eligibility: Ensure your property meets Airbnb’s basic requirements, such as providing a safe and clean environment for guests.
- Insurance and Liability: Consider obtaining insurance that covers short-term rentals to protect yourself and your property.
Effective Guest Communication and Review Management
Communicating effectively with guests can enhance their stay and encourage positive reviews. Here are some tips:
Be Responsive: Use Airbnb’s messaging features to quickly respond to guest inquiries and provide important details.
Be Transparent: Clearly outline what guests can expect from their stay, including any house rules or amenities.
Be Welcoming: Extend a warm welcome and offer personalized recommendations to make guests feel at home.
Encourage Reviews: After a stay, politely ask guests to leave a review, as this can significantly boost your listing’s visibility.
Maximizing Visibility: Marketing Your Airbnb Listing
To stand out in a crowded market, consider these marketing strategies:
Social Media: Share high-quality photos and updates about your listing on platforms like Instagram and Facebook.
Local Partnerships: Collaborate with local businesses to offer bundled services or promotions.
Influencer Partnerships: Reach out to influencers in your area to showcase your property to a wider audience.
SEO Optimization: Ensure your listing description includes relevant keywords to improve search visibility.
Creating a successful Airbnb listing involves more than just filling out a form; it requires attention to detail, creativity, and a deep understanding of what guests are looking for. By following these steps and staying up-to-date with the latest trends and updates, such as the Airbnb Summer Release 2025, you can position yourself for success in the competitive world of short-term rentals. Whether you’re a seasoned host or just starting out, mastering how to set up an Airbnb listing is the first step toward a rewarding hosting experience.