
Guesty’s Reporting Tools enable property management companies to get a clear view of their inventory, reservations and any other business information they may need. The reports are customizable and can be shared with relevant parties like personnel, homeowners and investors.
Watch the video below or continue reading to learn how to use reservation reports with Guesty.

Video: Using Reservation Reports – Guesty Help Center
Selecting the report you need
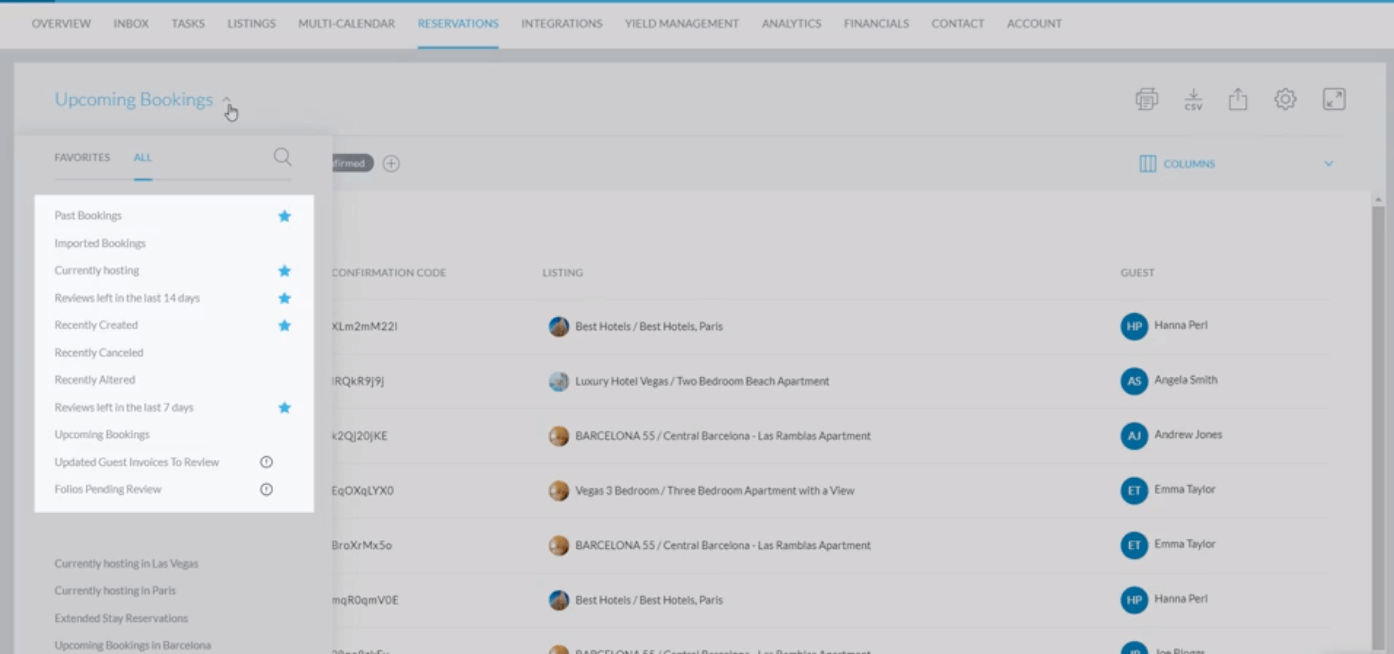
Click ‘Reservations’ in the top menu bar. In the top left corner, you’ll see the name of the report that’s currently open. By clicking the arrow beside it, you can access a menu of all your reports, with Guesty’s default reports at the top and your saved, customized reports at the bottom. Click the magnifying glass on the top right of the menu to search for a report and select the desired report to open it.
Adding and removing reports from your favorites
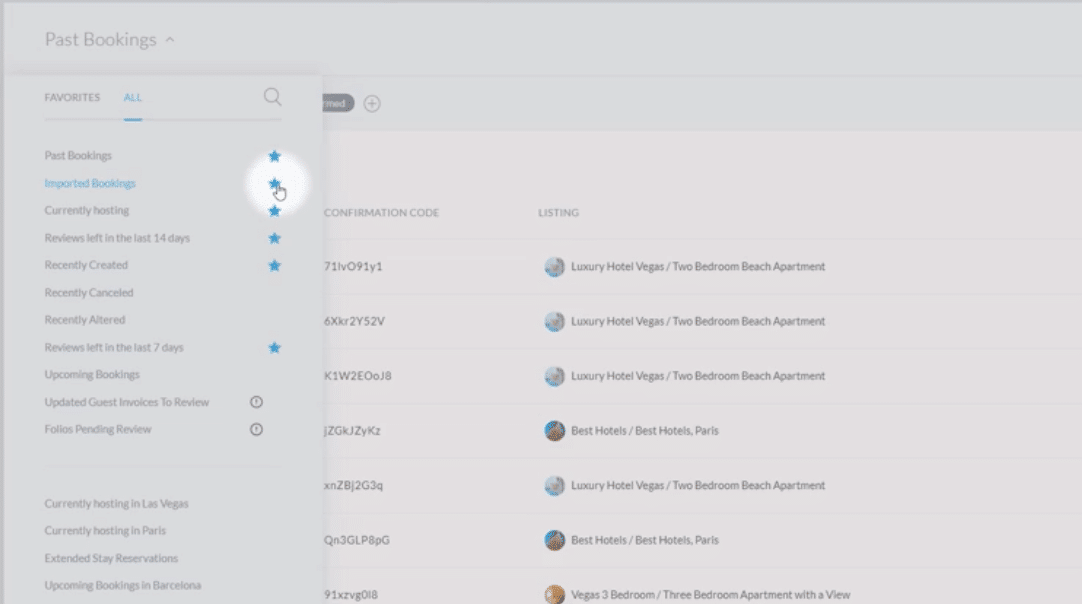
At the top of your list of reports, you’ll see the options ‘All’ and ‘Favorites’. You can add a report to your favorites by simply clicking the star next to it and remove a report from your favorites by deselecting the star.
Customizing a report
Filters
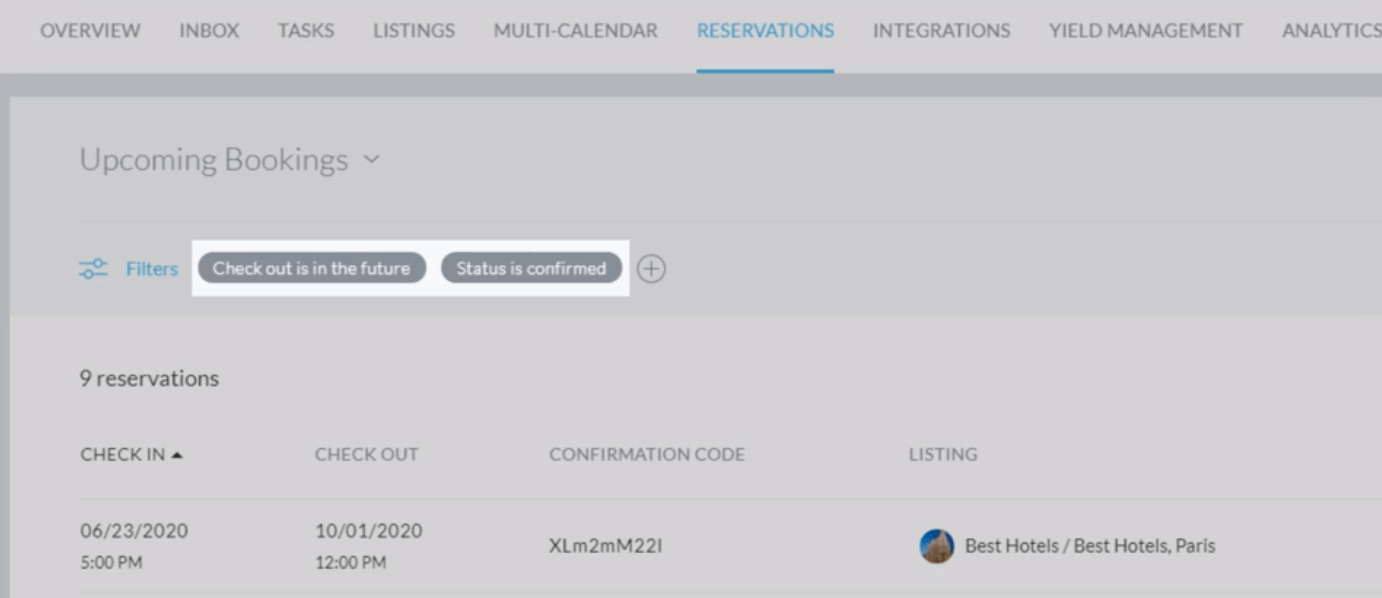
Beneath the report name, you’ll see the applied filters that determine which reservations are included in the report. You can edit these filters at any time by simply clicking on them, and delete them by clicking ‘Remove.’
To add a new filter, click the plus sign beside the filters that are already in use. Search for filters according to one of the following categories: Listing, Reservation, Guest and Financial, or type a filter name into the search bar. Once you’ve selected a filter, you can customize it to be sure only reservations that meet your specific criteria are included in your report.
Columns
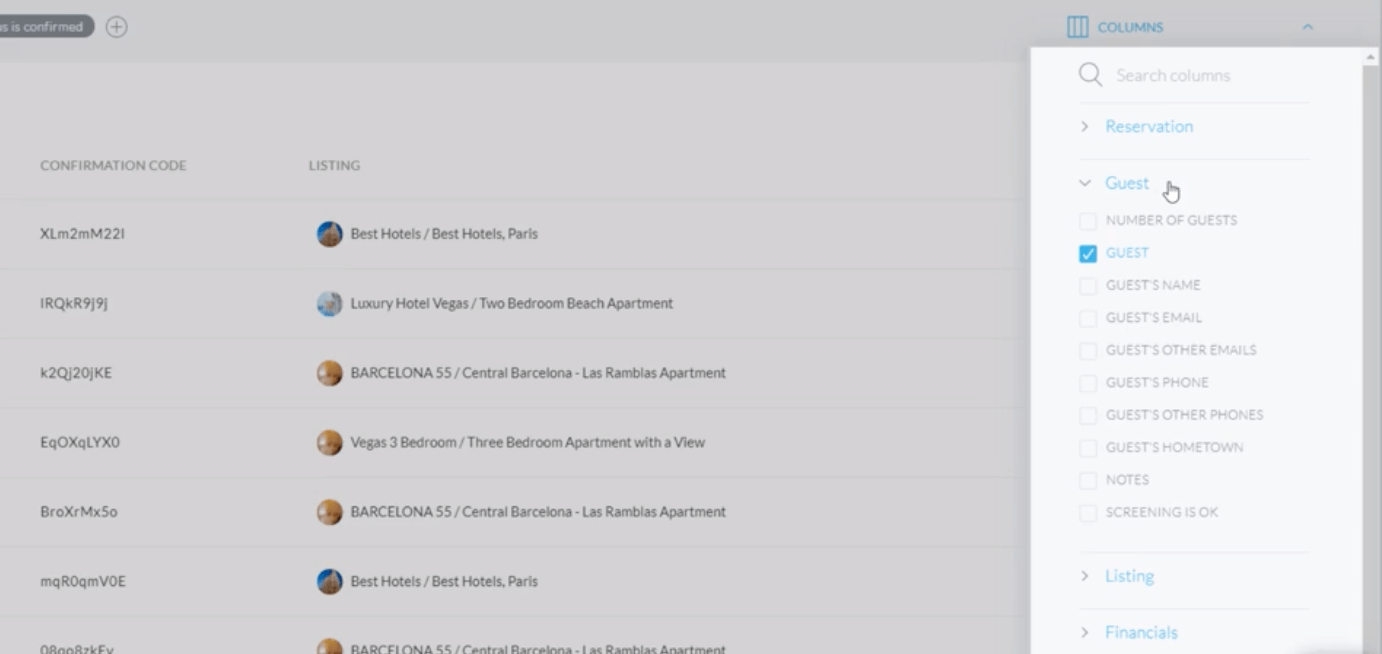
On the top right of the report you’ll see a button called ‘Columns.’ Like filters, you can search these according to categories or via the search bar. Check the relevant boxes to add the desired columns to your report. Click outside of the editor to close the Columns dropdown menu. You can reorder columns by dragging and dropping them into new locations and you can change the way each column is sorted by simply clicking the column name.
Once you are satisfied with your report you can select ‘Save As New Custom Report’ at the top right of the screen and then give the report a name. Any edited or updated report can be saved as an entirely new report, with the original report remaining intact and unaffected.
Exporting a report
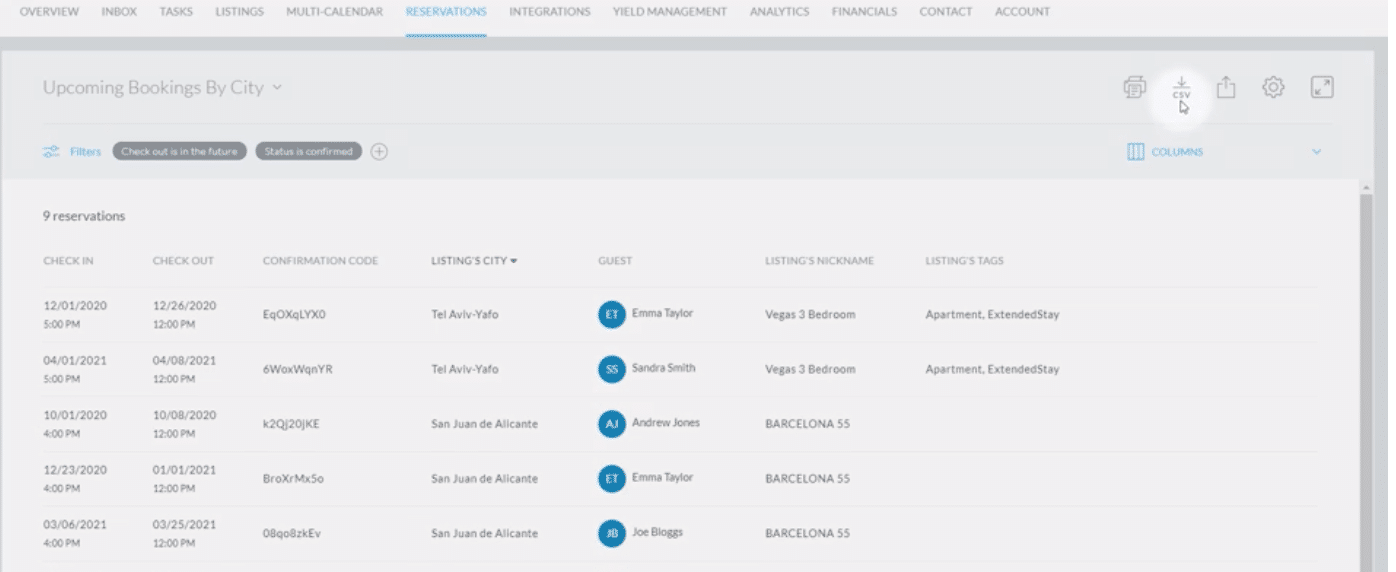
The icons at the top right of the screen allow you to:
- Share the report with other Guesty users either as a report, which you can choose to send once or repeatedly on certain days of the week, or as a link, which will dynamically update using live data
- Export the report as a CSV file
- Make changes to the report’s settings
Want to learn more about using Guesty to generate clear, comprehensive reports? Check out our Help Center, where you can find step-by-step guides to creating, editing and sharing all kinds of custom reports.

Zahava has been writing for Guesty since March of 2017. She's enjoying learning all there is to know about short-term property management and relaying solutions to Guesty's readers, helping to make the demanding jobs of property managers just a little bit simpler.